Deep-Set Eyes · Squirrel / Fox · Classic 1:1
The squirrel lash map for deep-set eyes, built in Classic 1:1 — zone order, where the length peaks, and the point this one usually goes wrong.
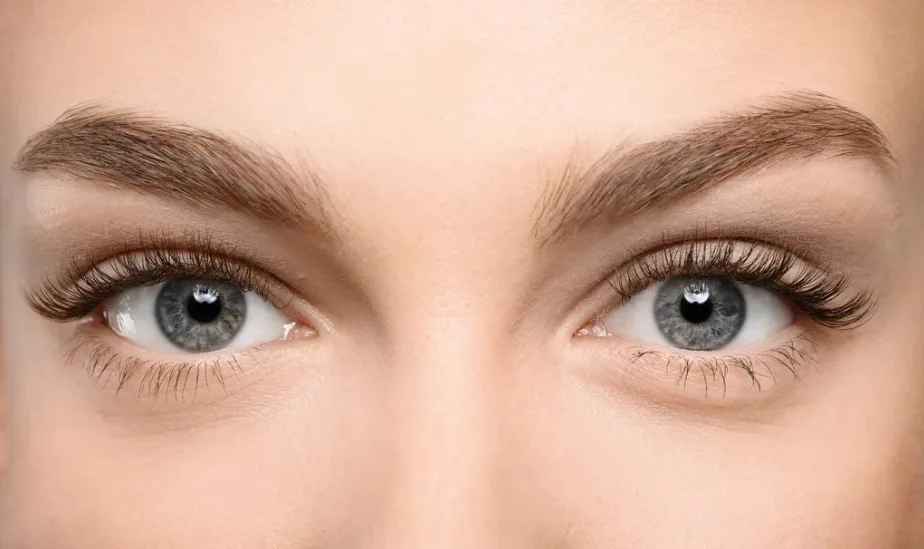
- ShapeDeep-set — the brow bone hangs over the lash line and decides how high it can go.
- EffectSquirrel, single lashes: the peak sits under the highest part of the brow, then eases out.
- Where everyone strugglesFind her arch before you map. The peak follows her brow, not a rule about zones.
Why Why it is laid out this way
Under a heavy brow the amount of room above the lash line is not the same all the way along — it is greatest where the brow lifts into its arch. Putting the longest zone there is the cheapest lift available on this shape, because it uses room that already exists rather than fighting for it. Everything else on the map is arranged around that one placement.
The order the zones go in
- Locate the arch firstEyes open, look for the highest point of her brow. Drop a line straight down from it to the lash line and mark the zone.
- Keep the inner end minimalNothing on this map is shorter than the first zone. The inner corner is the deepest part of the socket and gains nothing from length.
- Rise quickly into the peakStep up faster than a natural map would. The rise should arrive at the peak, not drift toward it.
- Hold the top for two zonesThe peak spans the zone under the arch and its outer neighbour, so the lift has width to it.
- Fall slowly to the cornerTwo easy steps down. The outer corner finishes well above the inner one but well below the peak.
- Keep the curl open at the peakThe longest zones take the softest curl. Under the arch there is room to go out, not up.
The length curve on deep-set eyes
A short inner end, a brisk climb, a flat top over two zones, then a gentle slope to a mid-height corner. The asymmetry is the effect: a quick rise reads as lift while a slow fall keeps the outer third from looking cut off. Placed under the brow's highest point, the peak has the most clear space in front of it that this shape ever offers.
Where does a squirrel map go wrong on deep-set eyes?
Deep The physics underneath
The placement decision is above. What follows is the load the placement creates, and who pays it.
The same map, built four ways
- Classic 1:1
- The clearest way to learn where an arch actually sits, because every lash you place is one decision you can see. It caps out when the peak needs more presence and thickness is the only lever left.
- Handmade volume
- Fans would make the peak read stronger without a heavier strand, since fine strands lose mass much faster than they lose coverage. On this map the risk is spending that saving on the slow outer fall, which does not want it.
- Promade / pre-made fans
- Consistency across a long, gradual slope, which is the fiddly part of a squirrel map. The base is fixed, though, and a fixed base is least welcome at the inner corner where the lid is tightest.
- Woven / clover
- Its evenly repeated spread flattens the difference between a quick rise and a slow fall, and that difference is the entire effect. Confine it to the rising zones or leave it out.
Spread angle versus weight
There are no fans to open here, so spread means how tightly you pack the peak zones. Packed close, the two zones under the arch merge into a dark block and the lift turns into a smudge. Keep the peak lashes just far enough apart that the line stays legible from the front, and let the length rather than the density say where the top is.
What a deep-set lash line can carry
- The lash fails by bending before it fails by letting go, and directly beneath the arch a small bend is expensive: the tip swings from open air into the bone's shade and the lift you built stops being visible.
- Length costs mass and lever together, which is why a peak that sits under real headroom can be modest and still read taller than an ambitious peak placed anywhere else on this lid.
- The zone under the arch is only as strong as its thinnest lashes. Check them before you commit to the peak length, because there is no second placement that works this well if the first one sags.
Where this map fails first
Two failures with different clocks. The peak sags because it carries the longest strands on the set, and on this shape a sagging peak is a lost peak rather than a slightly lower one. The corner thins later and ends the slow fall abruptly, so the set stops looking like a rise and a slope and starts looking like a lump in the middle. Both are why the map keeps the top length moderate and the outer end mid-height.
FAQ Common questions
How do I find the right zone for the peak?
Look at her brow with her eyes open and find its highest point, then come straight down to the lash line. That is where the bone gives the most clearance, so it is where length shows.
Why does the rise have to be quicker than the fall?
The quick rise is what the eye reads as lift. The slow fall keeps the outer third looking full rather than cut short, which matters more on a deep-set eye because the corner is already tucked back.
Should the outer corner be as short as the inner?
No. The inner corner is the deepest point of the socket and stays minimal; the outer keeps roughly two thirds of the peak so the slope has somewhere to land.
What if her brow has no clear arch?
Then this is the wrong map. With a flat brow the room is even along the whole lid, so a centre-peaked open-eye layout does the same job with less risk.
Print this page or save it as PDF — the diagrams are drawn to stay readable in black and white on plain paper. Or download the diagrams below as SVG. No account, no fee, nothing to sign. Every file carries this page’s address, so wherever it ends up it can be traced back here.
Teaching from these? The offer, and how to credit it.
Also in: Deep-Set eyes · Squirrel / Fox · Classic 1:1
Read next: fox eye and squirrel lash mapping, and how they differ · questions clients ask about lash extensions