Deep-Set Eyes · Squirrel / Fox · Hybrid
The squirrel lash map for deep-set eyes, built in Hybrid — zone order, where the length peaks, and the point this one usually goes wrong.
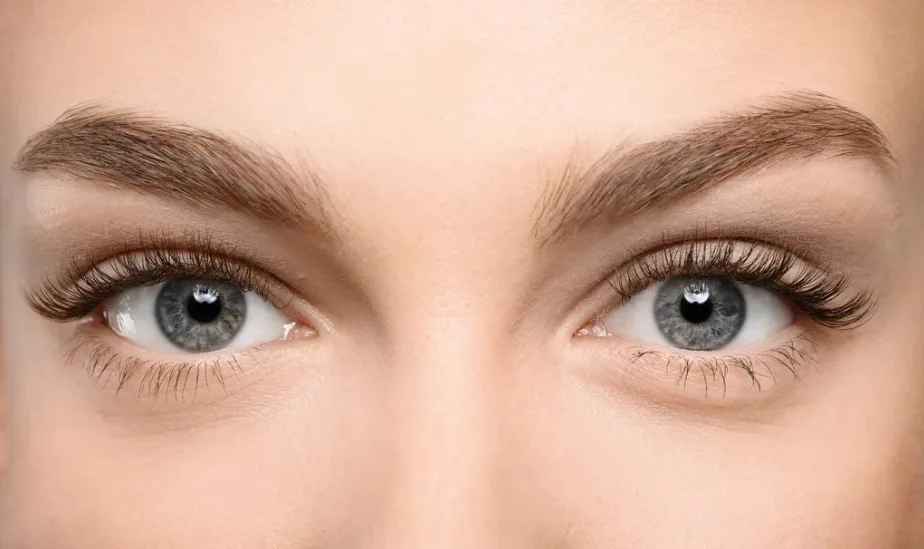
- ShapeDeep-set — the eye sits back, and the room above the lash line changes along the brow.
- EffectSquirrel, mixed: a clean peak under the arch, texture worked into the outer slope.
- Where everyone strugglesLeave the peak plain. Texture goes where the set would otherwise just fade out.
Why Why it is laid out this way
Two zones on this map do completely different jobs, and the mix should follow that split. The peak already has the brow's own clearance working for it and needs nothing added; the long fall toward the outer corner is where the set quietly stops being interesting. Putting the texture on the slope rather than the high point is what makes this cell different from every other squirrel build.
The order the zones go on, and where the fans land
- Mark the brow's high pointCome straight down from it to the lash line and set that zone as the peak before anything else.
- Rise fast from a short inner endMinimal at the inner corner, then three quick steps up. The climb should feel abrupt compared with a natural map.
- Build the peak in singles onlyTwo zones of plain single lashes at the top length. No fans, no spikes, nothing competing.
- Fan the slope as it fallsFrom the peak outward, mix soft fans in with the singles so the descending zones keep some body.
- Step a few spikes down the slopeTwo or three closed fans along the fall, each shorter than the one before. They mark the slope; they do not extend it.
- Finish the corner mid-heightThe outer end stays well above the inner corner so the slope has a floor to land on.
The length curve on deep-set eyes
The line jumps up to a flat top under the arch, then walks down over three zones to a corner that is still two thirds of the peak. That long descent is what separates this from an open-eye map, and on a recessed eye a long descent is also the part most likely to read as nothing at all. The texture is placed to keep the slope legible rather than to make the peak taller.
Where does a squirrel map go wrong on deep-set eyes?
Deep The physics underneath
The slope carries the texture, so the slope carries the load. Here is what each technique puts on it.
The same map, built four ways
- Classic 1:1
- The peak belongs to the singles because the peak has to be unambiguous. Singles also let you set the exact height of each descending step without a fan's spread confusing the reading.
- Handmade volume
- Fans give the falling zones body they would otherwise lose as the length comes down. Fine strands mean that body arrives without darkening a slope that already sits in shade.
- Promade / pre-made fans
- Efficient across three descending zones of routine filling. The fixed base is a nuisance at the corner, where the lid curves away and a bulky root perches instead of wrapping.
- Woven / clover
- Predictable coverage that repeats, which is the opposite of a slope meant to look casually stepped. If it appears, put it in the rising zones before the peak where regularity does no harm.
Spread angle versus weight
On the descending zones a wider fan buys width just as the map is trying to give width up, so the spread should narrow as the length falls. It matters more here than at the peak because those outer lashes are the finest on the lid and least able to resist the twist a wide fan applies. Widest fans just inboard of the peak, tightest at the corner.
What a deep-set lash line can carry
- The peak is the one place a few degrees of droop is fatal rather than merely untidy — under the arch the lash is aiming into the only clear space it has, and losing that angle puts it back in shade.
- Each spike on the slope is a long single object with all its mass on one anchor, so budget the outer spikes especially carefully: those lashes are the shortest and finest on the map.
- The slope hides its own weakest links until they give. A sagging fan next to a firm one is barely visible on a descending line, right up to the point where the descent turns into a step.
Where this map fails first
The outer slope goes first because that is where heavy elements meet weak anchors. Spikes rotate rather than shed, and a turned spike on a descending line leaves a visible flat spot exactly where the map wanted a smooth walk down. What the client sees is the outer half looking blunt while the peak still looks fine. Keeping the slope spikes progressively shorter is what stops that flat spot from becoming a notch.
FAQ Common questions
Why keep the peak free of texture?
Because the peak already sits under the brow's high point, where this shape has the most room. Adding spikes there competes with a line that is doing its job, and a clump under the arch reads as darkness rather than lift.
How many spikes belong on the slope?
Two or three, each shorter than the one before, spaced unevenly. Their job is to keep the descent visible, not to hold it up.
Why does the outer corner stay so much longer than the inner?
The inner corner is the deepest, tightest part of the socket and returns nothing for length. The outer end gives the slope a floor, so the set does not look like it stops halfway.
Is hybrid worth it over classic on this map?
It is if the slope looks thin in classic, which is common. The fans keep body in the falling zones as the length drops, which classic can only do by holding the length up and losing the shape.
Print this page or save it as PDF — the diagrams are drawn to stay readable in black and white on plain paper. Or download the diagrams below as SVG. No account, no fee, nothing to sign. Every file carries this page’s address, so wherever it ends up it can be traced back here.
Teaching from these? The offer, and how to credit it.
Also in: Deep-Set eyes · Squirrel / Fox · Hybrid
Read next: fox eye and squirrel lash mapping, and how they differ · questions clients ask about lash extensions