Upturned Eyes · Cat-Eye · Classic 1:1
The cat-eye lash map for upturned eyes, built in Classic 1:1 — zone order, where the length peaks, and the point this one usually goes wrong.
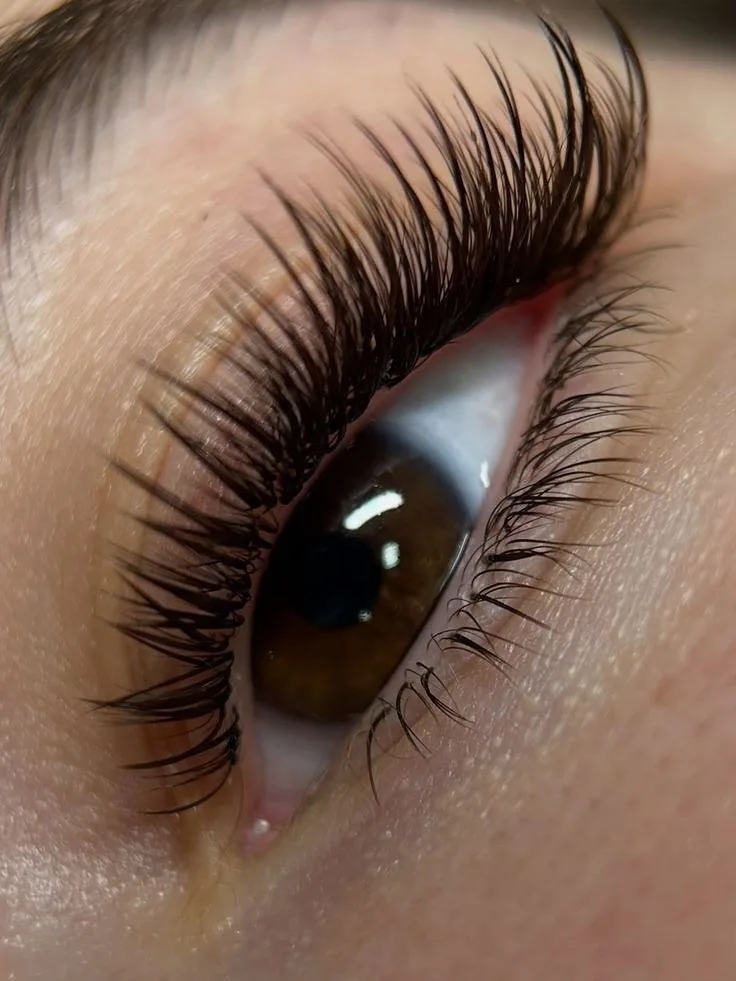
- ShapeUpturned — the outer corner already sits higher than the inner one.
- EffectCat-eye in single strands: length climbs steadily, then holds at the tail.
- Where everyone strugglesDon't spike the last zone. Level it off, or lifted turns severe.
Why Why it is laid out this way
Half of this effect is built into the face before you open a tray. So a cat map here is not about creating lift — it is about deciding how much more you dare add on top of what the eye is already doing. Classic 1:1 gives you the finest control over that answer, one strand at a time.
The order the zones go in
- Start the inner very shortShortest and finest strands at the innermost zone, well under a third of the tail. This is the end the eye's own line drops.
- Climb by one even stepEach zone gains the same small amount over the one before it. Even steps are what make a long tail look planned rather than added.
- Level the last two zonesThe final two zones share the longest length instead of one strand out-reaching the rest. Flat at the top is the restraint that keeps it wearable.
- Hold one curl family throughoutDo not escalate curl toward the corner. Stacking extra curl onto a corner that already rides high is how you get a stare.
- Close the inner gaps firstJudge the tail only after the inner line is filled. Holes down there make the climb look steeper than you mapped it.
The length curve on upturned eyes
The curve is a straight climb with a flat top, and both halves are doing a job. The climb must be even because a one-on-one set has nowhere to hide a skipped step — one strand per lash, one length per zone, all of it visible. The flat top is the deliberate part: the corner is already raised by the eye itself, so the last zone repeats the peak instead of beating it.
Where does a cat-eye map go wrong on upturned eyes?
Deep The physics underneath
Above is where the length goes. Below is what one strand on one lash can actually hold at the raised end of this lid.
The same map, built four ways
- Classic 1:1
- This map's longest zones are its last two, so each of those strands is a lone lever with nothing sharing the load. Length is your only fullness control, and it buys mass and reach in the same purchase. That is the honest cost of the ramp.
- Handmade volume
- Splitting a tail strand into several finer ones buys the same visible width for less mass on the raised corner. Keep the spread tight out there, or the extra width smears sideways across the lift instead of extending it.
- Promade / pre-made fans
- The bond node sits at the root, the cheapest spot on the lever, and it makes a long climbing tail quick to build. What you give up is spread control zone by zone, which is precisely the control the levelled top asks for.
- Woven / clover
- Its spread is fixed and lateral, and this map already spends everything it has on width at the outer end. Inboard it is fine; on the last two zones it turns a ramp into a block.
Spread angle versus weight
The peak here is not a point but a two-zone stretch, so whatever spread you pick gets repeated across the most exposed part of the lid. Wide spread out there parks mass off the lash's own axis and the lash rotates to settle, which the client sees as a tail gone crooked rather than a tail gone short. Run it narrow along the final two zones and let length carry the effect.
What an upturned lash line can carry
- Because the last two zones share the top length, the deflection ceiling is met by a stretch of lid all at once rather than by one strand — when it goes, the flat top sags into a curve and the set reads as a droop nobody mapped.
- Every step up the ramp adds mass and reach together, so the cost is not flat: the outermost zone is not one step harder than the innermost, it is several times harder.
- The lightest strand in the outer zone decides what that zone will hold, and on an upturned lid the outer lashes are often the finest on the line — map the tail to those, not to the best one you can see.
Where this map fails first
The last zone goes first, and it goes as a sag rather than a shed. It holds the longest strands on the finest lashes, and it is the part of the lid that meets the pillow and the towel every night. The inner corner is the second place to watch, and not for weight — with the map this short down there, one missing lash reads as a hole. Set the fill interval by the tail, not by the comfortable middle.
FAQ Common questions
Do upturned eyes even need a cat-eye map?
They need less of one. The corner is already raised, so the map extends the line rather than lifting it, which is why length climbs evenly and then holds instead of jumping at the end.
How long can the tail go before it looks harsh?
The moment the final zone beats the zone before it. Keeping those last two level is the working limit — once the very corner is the single longest point on the lid, the eye reads as pulled.
Why build this in classic rather than volume?
Classic shows the ramp honestly; nothing softens a step you skipped, so you find out immediately where your zones really landed. It also keeps the outer corner light, which matters on a map that puts its greatest length there.
Should curl get stronger toward the corner?
No. Adding curl on top of a corner that already sits high is the quickest route to a startled look. One curl family across the lid, and let placement do the shaping.
Print this page or save it as PDF — the diagrams are drawn to stay readable in black and white on plain paper. Or download the diagrams below as SVG. No account, no fee, nothing to sign. Every file carries this page’s address, so wherever it ends up it can be traced back here.
Teaching from these? The offer, and how to credit it.
Also in: Upturned eyes · Cat-Eye · Classic 1:1
Read next: what a cat eye lash map actually is · questions clients ask about lash extensions