Upturned Eyes · Natural · Classic 1:1
The natural lash map for upturned eyes, built in Classic 1:1 — zone order, where the length peaks, and the point this one usually goes wrong.
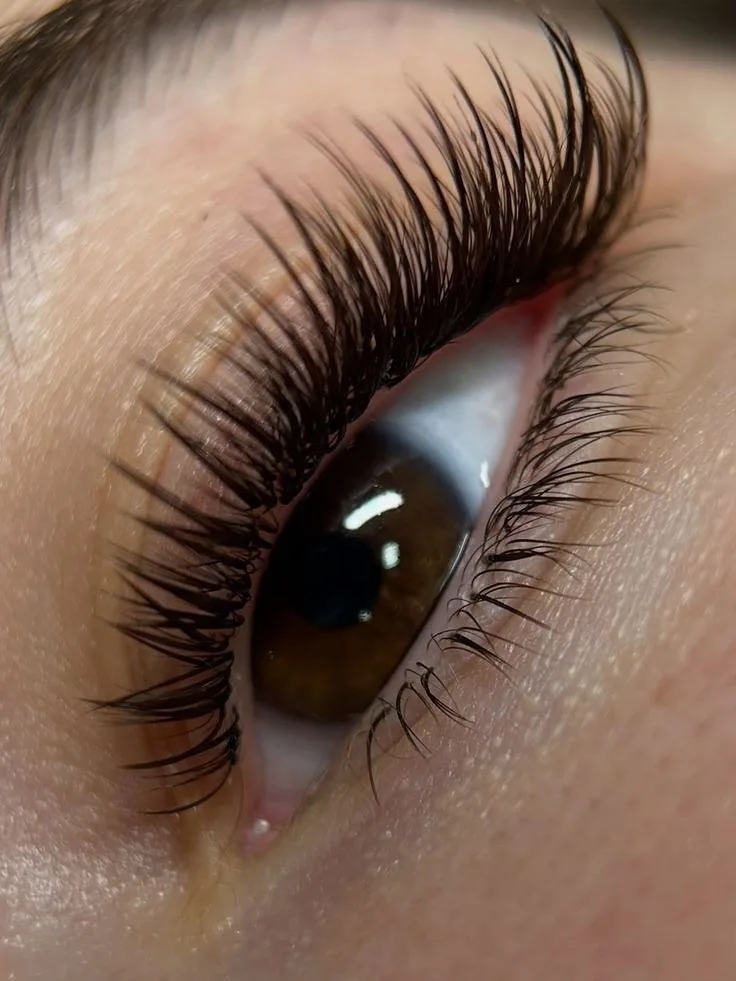
- ShapeUpturned — balanced already, so this map corrects nothing.
- EffectNatural, one on one: a broad middle peak and a tail that holds level.
- Where everyone strugglesDon't taper both ends the same. The outer half stops short of the drop.
Why Why it is laid out this way
This is the map to reach for when the client wants her own eyes back, only better. It is the recommended balance layout for the shape, and the only unusual thing about it is the outer half, which comes down one step off the peak and then stays there. Everything else is ordinary length control.
The order the zones go in
- Open short at the inner cornerThe innermost zone is the shortest and finest on the lid. This is the low end of the eye and it stays low.
- Climb quickly to the middleGain length faster over the inner zones than you would on a symmetrical eye. The inner half is the part this eye needs help with.
- Peak across two centre zonesHold the longest length over the two middle zones rather than one. A broad peak is what stops a natural set looking pointed.
- Step down once, then holdCome off the peak by a single notch and keep that length to the outer corner. This is the whole character of the map.
- One curl family, start to finishDo not strengthen the curl at the tail. The lid is already doing that job and you will overshoot it.
The length curve on upturned eyes
The curve rises quickly, sits flat over the middle, drops one step and then runs level to the outer edge. That level run is the deliberate part: this eye lifts as it goes outward, so a tail tapering all the way down to the inner corner's length would fight the lid and look cropped. Holding one step below the peak lets the map follow the eye instead of arguing with it.
Where does a natural map go wrong on upturned eyes?
Deep The physics underneath
Layout above, mechanics below: one strand, one follicle, and a tail that never quite tapers away.
The same map, built four ways
- Classic 1:1
- One strand per lash is the honest way to build a map whose whole character is a single step down and a level run. Nothing softens that step, so if you place it wrongly you will see it — which is exactly why this is the cell to learn the map on.
- Handmade volume
- Fine strands fanned together give the same look for less mass, and on this map the saving is best spent on the level tail, where the lengths stay long and the lashes get thin. Keep the spread modest or the natural read goes.
- Promade / pre-made fans
- Consistent, quick, and a small node of mass right at the root where it barely counts. The uniformity is a liability on a natural set, where a perfectly even line is the thing that gives it away.
- Woven / clover
- Excellent coverage per bond, and a repeating shape that becomes visible on the plainest maps. This one has no length drama to distract from a pattern, so keep it out of the visible outer half.
Spread angle versus weight
The peak sits across the two middle zones, but the zone that decides this map's fate is the level tail, where a long-ish length runs on progressively finer lashes. Any spread you open out there puts mass off the lash's own line and it will rotate to relieve it, so the level run goes ragged before it goes short. Run narrow from the peak outward and keep whatever width you want inboard.
What an upturned lash line can carry
- The deflection ceiling here is met along the level tail, not at a single peak — the same near-peak length is asked of every outer zone, so when it gives, it gives as a slow slump along the whole run.
- A step of length costs mass and reach together, which is why holding the tail one step below the peak rather than at it is worth far more than the small difference looks on paper.
- A zone's finest lashes set what it can hold, and on this shape the outer lashes are frequently the finest on the eye — map the level run to those and the map survives a shed cycle.
Where this map fails first
The level run is the exposed part. It carries close to peak length on the thinnest lashes of the lid, and it takes the pillow, the towel and the side of a phone screen every day. When it drops, the map stops being a balance map and starts looking like a mild droop, because the one step that gave it shape has flattened. Judge fill timing on that stretch and the rest of the set will always be ahead of it.
FAQ Common questions
Why doesn't the tail taper all the way down?
Because the lid is rising as it goes outward. Tapering to a short outer corner shortens the highest part of the eye, which reads as cropped instead of soft.
Is a natural map really right for upturned eyes?
It is the recommended default. The shape needs no correction, so the useful map follows its geometry rather than trying to move the balance somewhere else.
Where does the inner corner start?
Well below the peak — this is the end the eye's own line drops, and lengthening it flattens the whole climb. Fill it densely if it looks thin, but keep it short.
Can I use this as a first map on the shape?
Yes. There is one step down and one level run to get right, and classic 1:1 makes both of them visible enough to learn from.
Print this page or save it as PDF — the diagrams are drawn to stay readable in black and white on plain paper. Or download the diagrams below as SVG. No account, no fee, nothing to sign. Every file carries this page’s address, so wherever it ends up it can be traced back here.
Teaching from these? The offer, and how to credit it.
Also in: Upturned eyes · Natural · Classic 1:1
Read next: questions clients ask about lash extensions